Most homeowners picture a siding project the same way: a crew shows up, panels go on the wall, and a few days later the house looks brand new. What almost nobody pictures is everything that happens before that first new panel is ever installed, and that’s exactly the part that determines whether your new exterior lasts twenty years or starts failing in five. If you’ve got a siding installation Virginia project on the calendar and you’re wondering what actually happens behind the scenes before the “after” photo, you’re asking the right question at the right time.
Why the Prep Work Matters More Than the Installation Itself
It’s tempting to think of siding as a purely cosmetic upgrade, something that just makes your house look nicer from the street. In reality, siding is your home’s primary defense against wind, rain, and moisture, and if it’s installed over compromised sheathing, missing moisture barriers, or unaddressed rot, even the highest quality panels won’t protect your home the way they’re supposed to.
Think of it this way: the siding itself is really just the visible outer layer of a much larger system. Underneath sit the sheathing, the moisture barrier, and the flashing details around every window, door, and corner, and every one of those layers has to work together correctly for the whole system to hold up against Virginia’s humidity, storms, and temperature swings. A siding installation Virginia project that treats the visible panels as the whole job, rather than as the final layer of a properly built system, is one that’s setting a homeowner up for problems that simply won’t show up until years later.
This is exactly why a proper siding installation Virginia contractors take seriously never skips straight to hanging panels. Everything that happens beforehand, inspection, repair, weatherproofing, is what determines whether your new siding performs the way it’s designed to for the next several decades.
Step 1: The Initial Consultation and Assessment
Before any work begins, a contractor walks your property, assesses your current siding’s condition, and talks through what’s driving the project, whether that’s storm damage, general aging, or simply wanting to update your home’s appearance. This is also when material options get discussed, vinyl, fiber cement, engineered wood, along with color and style choices that fit both your home and your neighborhood’s overall look.
For homeowners considering a siding installation Virginia project for the first time, this consultation is the moment to ask questions freely. What’s the expected timeline? What happens if hidden damage is found once the old siding comes off? What does the warranty actually cover? A contractor who welcomes these questions upfront is one who’s confident in how they run their projects.
Step 2: Measurements, Material Ordering, and Permitting
Once you’ve settled on a material and style, precise measurements are taken to calculate exactly how much siding, trim, and flashing your home requires. Ordering the correct amount matters enormously, since running short mid-project causes frustrating delays, and ordering too much wastes money unnecessarily.
Depending on your city or county, a siding installation Virginia project may also require a permit, particularly for larger-scale replacements rather than minor repairs. A reputable contractor handles this paperwork on your behalf, and if you live in a neighborhood with an HOA, this is also the stage where specific color or material approvals typically get sorted out before work begins.
Step 3: Scheduling Around Weather and Material Availability
Virginia’s weather, particularly here in Hampton Roads, plays a real role in scheduling. Contractors generally avoid starting exterior work during active storm systems or extended rain forecasts, since certain steps, like installing house wrap or sealing seams, need dry conditions to be done properly. Material availability can also affect timing, especially for less common colors or specialty siding profiles that may need to be special ordered.
A well-organized company builds this into your project timeline from the start, rather than leaving you guessing about when your siding installation Virginia crew will actually show up.
Table: The Pre-Installation Timeline for a Typical Siding Project
| Stage | What Happens | Typical Timeframe |
| Consultation | Initial assessment, material and color selection | 1 visit, 45-90 minutes |
| Measurements & Ordering | Precise measurements taken, materials ordered | 1-2 weeks (longer for special orders) |
| Permitting | Permit application submitted and approved, if required | 1-3 weeks depending on locality |
| Scheduling | Install date confirmed around weather and crew availability | 1-2 weeks before start |
| Old Siding Removal | Tear-off of existing siding down to the sheathing | Half day to 1 full day |
| Sheathing Inspection & Repair | Deck checked for rot or damage, repairs made as needed | Half day to 1 full day, if repairs needed |
| Weatherproofing | House wrap and moisture barrier installed | Half day |
| New Siding Installation | Panels, trim, and flashing installed | 2-5 days depending on home size |
This table reflects a general timeline. A siding installation Virginia project on a larger or more architecturally complex home, or one requiring significant sheathing repair, can naturally take longer at several of these stages.
Step 4: Removing the Old Siding
Once the crew arrives on-site, the first physical step is removing your existing siding entirely. This isn’t just about pulling off old panels, it’s the moment where a lot of hidden information about your home’s condition gets revealed for the first time. Old nails, staples, and any deteriorated house wrap underneath all get cleared away as part of this process.
This stage of any siding installation Virginia project also tends to be the loudest and most visually dramatic part of the job, since your home is temporarily down to bare sheathing before anything new goes up. It can look a little alarming if you’re not expecting it, but it’s a completely normal and necessary part of doing the job correctly.
Step 5: Inspecting and Repairing the Sheathing
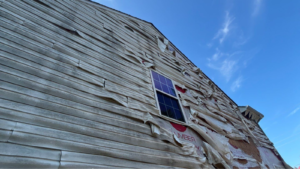
With the old siding removed, the crew can finally see what’s actually underneath, and this is often where the most important discoveries happen. Rot, water damage, insect activity, or simply aged and weakened sheathing can all be hiding behind siding that looked perfectly fine from the outside. Addressing these issues before new siding goes up is absolutely critical, since installing new panels over compromised sheathing essentially locks a problem inside your walls for years to come.
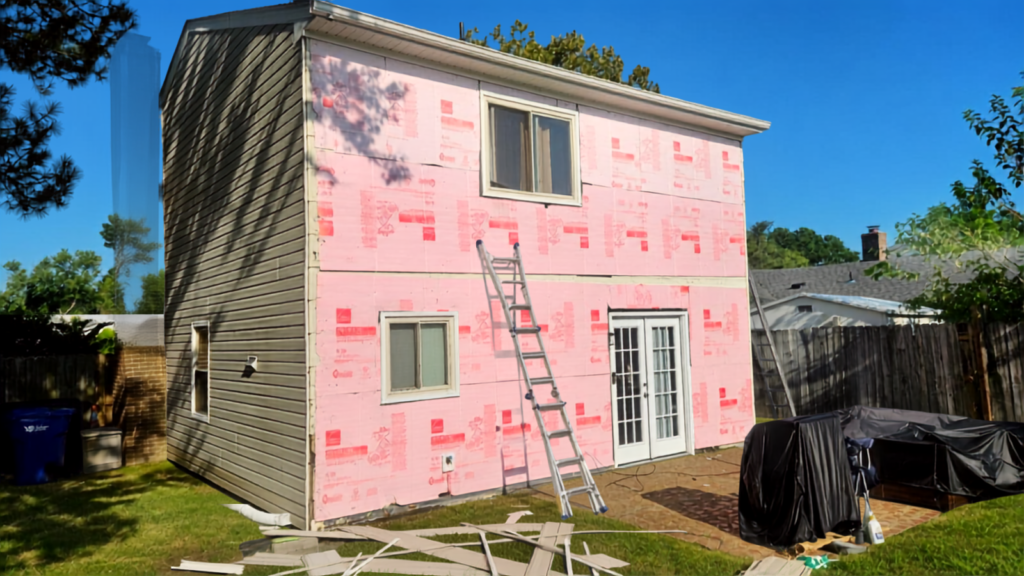
On our Sunstream Parkway project in Virginia Beach, this exact step made a real difference. Once the old siding came off, our crew identified a section of sheathing near a lower corner of the home that had absorbed moisture over time, likely from a small gap in the original installation. Because we caught it during this inspection phase, rather than covering it up, we were able to replace that section before moving forward, giving the homeowner a genuinely solid foundation for their new siding rather than a cosmetic fix layered over an existing problem.
Step 6: Installing House Wrap and Moisture Barriers
Once any necessary sheathing repairs are complete, the next step is installing a weather-resistant barrier, commonly known as house wrap, across the entire surface. This layer is arguably one of the most important components of the entire system, since it’s what actually keeps wind-driven rain and moisture from reaching your home’s structural wood underneath, even if some moisture manages to get past the siding itself.
Flashing gets installed around windows, doors, and any other penetrations at this stage as well, ensuring water is properly directed away from vulnerable seams. A siding installation Virginia project that skips or rushes this step is one that’s setting itself up for moisture problems down the road, regardless of how good the final siding looks on the surface.
Step 7: The Actual Siding Installation
With the prep work complete, the visible part of the project finally begins. Panels are installed methodically, starting at the bottom of the wall and working upward, with careful attention to proper overlap, fastening, and alignment. Trim work around windows, doors, and corners gets finished with the same level of precision, since these details are what give a finished project its clean, professional appearance.
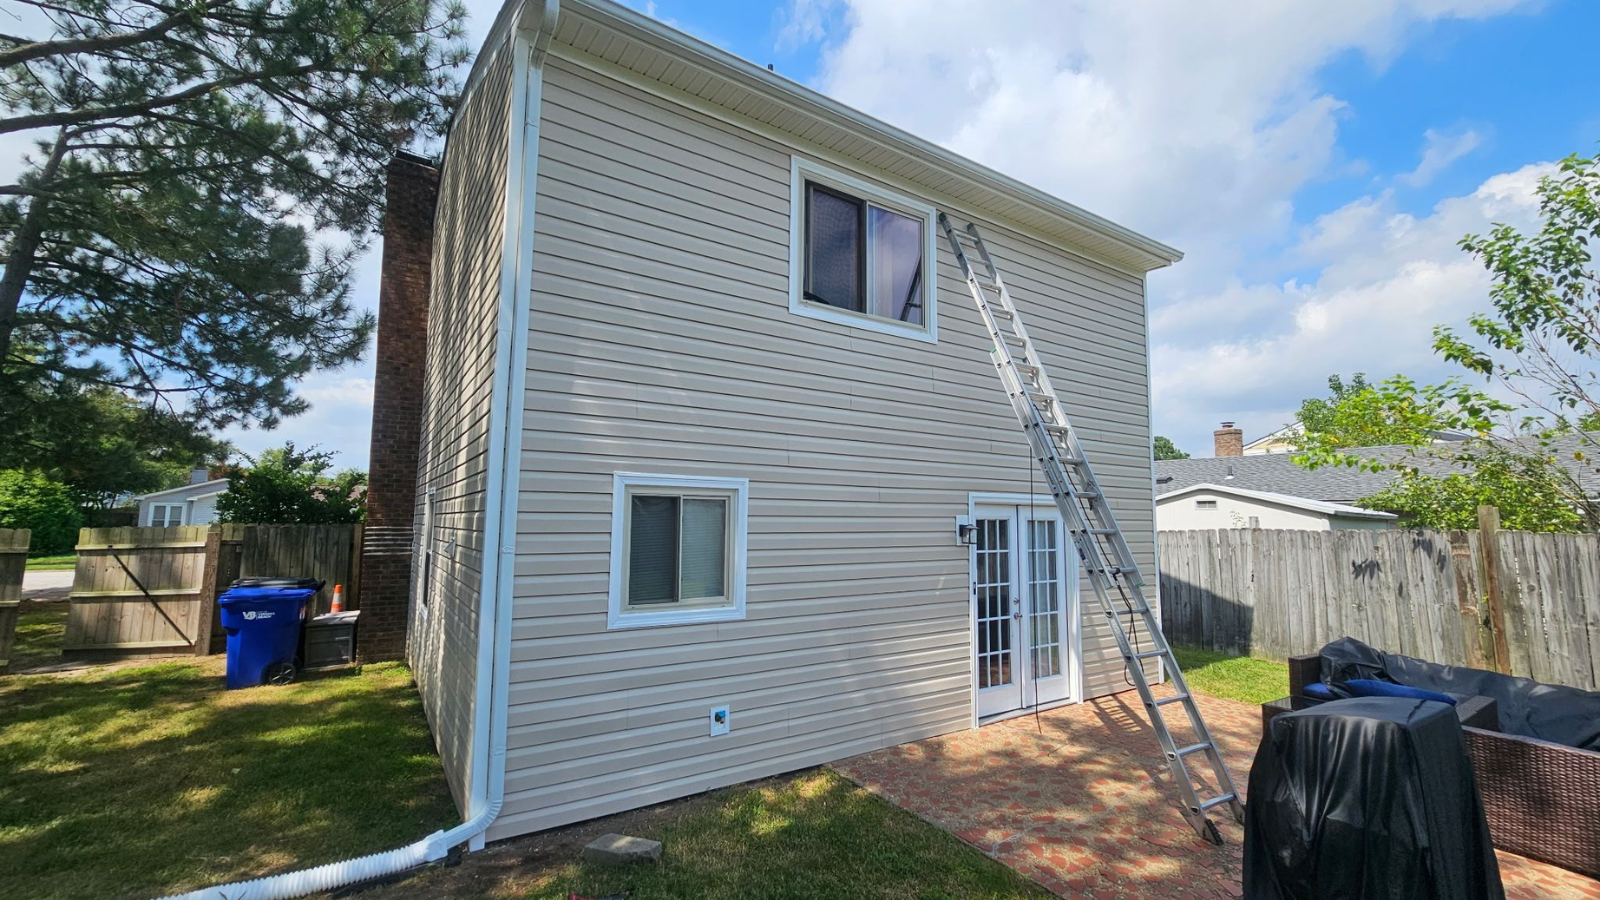
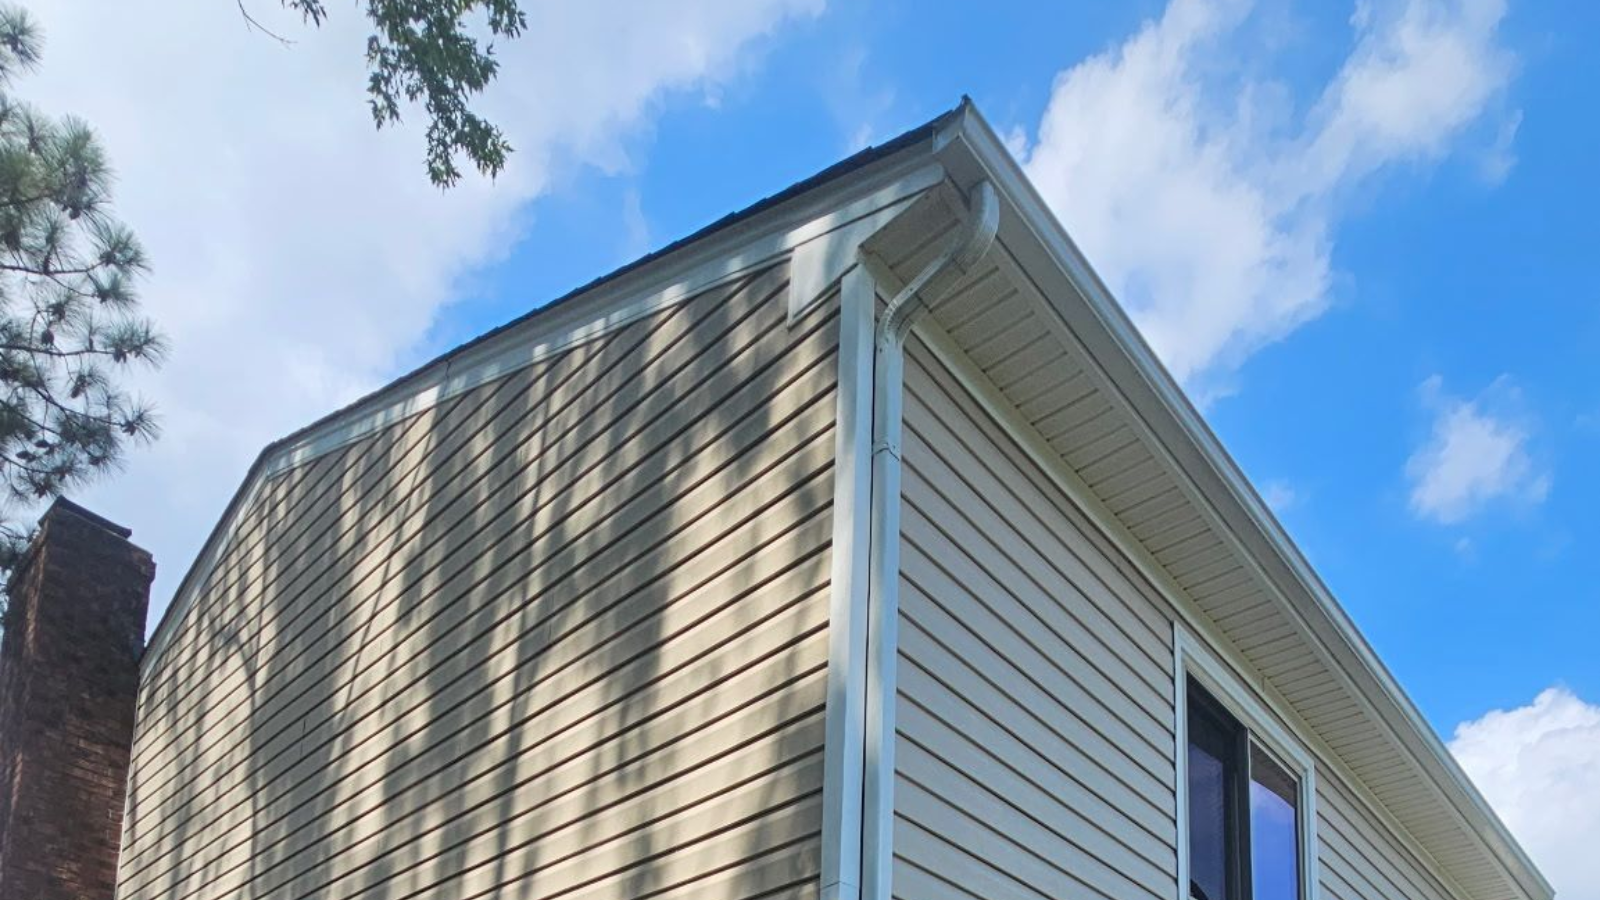
On the Sunstream Parkway project, this final stage took just under three days for a home of that size, transforming a tired, aging exterior into a completely refreshed facade, backed by the confidence that everything underneath had been properly addressed first.
What Homeowners Can Do to Prepare on Their End
While the technical prep work is entirely the contractor’s responsibility, there are a few things homeowners can do to help their own siding installation Virginia project go smoothly. Clear the perimeter of your home of any furniture, potted plants, or decorations that could be in the way of the crew’s equipment and material staging. Trim back any bushes or landscaping pressed up against the exterior walls, since this gives the crew full access to every section of siding.
It also helps to let your contractor know about any known problem areas ahead of time, a spot where you’ve noticed water intrusion, a section that seems to sag or feel soft, or an area near a downspout that always seems to stay damp. This kind of information helps the crew pay extra attention to specific areas once the old siding comes off.
Choosing the Right Material for Your Home
Material choice plays a significant role in how your finished siding performs over time, particularly here in coastal Virginia where humidity and salt air are real factors. Vinyl siding remains a popular, cost-effective choice, offering solid durability and low maintenance for most homes. Fiber cement siding offers superior durability and fire resistance, making it an increasingly popular upgrade for homeowners wanting a longer-lasting exterior. Engineered wood siding provides a more traditional look with better impact resistance than natural wood, though it does require slightly more maintenance than vinyl or fiber cement.
Whatever material you choose for your siding installation Virginia project, a knowledgeable contractor should walk you through the tradeoffs honestly, rather than steering you toward whichever option carries the highest markup.
What a Typical Project Costs and Why Prep Work Affects the Price
Cost is naturally one of the first questions homeowners ask, and it’s worth understanding how the prep work factors into the total. Base estimates for a siding installation Virginia project are typically built around the visible scope, material, square footage, and labor, but the final cost can shift once the old siding comes off and the crew can actually see the condition of the sheathing underneath.
This is exactly why a detailed, itemized estimate matters more than a single flat number. A transparent contractor will explain upfront that hidden repairs, should any be found, will be priced separately and discussed with you before any additional work begins, rather than being silently added to your final invoice. Homeowners who understand this going in tend to feel far less blindsided if a repair need does turn up once the tear-off phase begins.
How to Choose the Right Contractor for the Job
Not every company treats the prep phase with the same seriousness, and that difference matters enormously for how your finished project holds up over time. When comparing contractors for a siding installation Virginia project, ask specifically how they handle sheathing inspection and repair, whether that’s included in their standard process or treated as an afterthought. Ask what house wrap or moisture barrier product they use, and why. Ask to see photos from past projects showing the prep stages, not just polished after photos, since a company confident in their process is usually happy to show the less glamorous steps too.
A contractor who can speak in specific, concrete detail about projects like the one on Sunstream Parkway, what was found, what was repaired, and why it mattered, is telling you something important about how seriously they take the work that happens before the visible transformation even begins.
Local Considerations for Virginia Beach Homeowners
Homes throughout Virginia Beach face specific conditions worth factoring into any siding decision. Proximity to the coast means increased humidity and, for homes closer to the oceanfront, some degree of salt air exposure that can accelerate wear on certain materials over time. Hurricane season, running from June through November, also means wind resistance ratings are worth discussing directly with your contractor, particularly if you live in a more exposed or elevated location.
Neighborhoods further from the water, including many of the communities where we’ve completed projects like the one on Sunstream Parkway, still benefit from moisture-conscious installation practices, since Hampton Roads’ overall humidity affects sheathing and moisture barrier performance regardless of exact distance from the ocean. A contractor with genuine local experience handling siding installation Virginia projects across neighborhoods from Kempsville to the oceanfront understands these nuances in a way that a generalist, out-of-area crew simply won’t.
What to Expect on Installation Day
Once the prep work is behind you, installation day itself moves at a steady, predictable pace. Expect noise, especially during any remaining tear-off or fastening work, and expect crew members moving around your property’s perimeter throughout the day. It’s generally fine to be home during this process, though keeping pets indoors and vehicles clear of the immediate work area helps things move smoothly.
Most homeowners are pleasantly surprised by how visually dramatic the transformation feels once the final panels and trim are in place, especially compared to how the home looked mid-project with bare sheathing exposed.
Final Thoughts on Siding Installation Virginia Homeowners Can Trust
The best-looking siding project isn’t just about the panels you see from the street, it’s about everything that happens before those panels ever go up. From the initial consultation through sheathing repair, weatherproofing, and finally installation itself, every step plays a role in how well your new exterior performs for years to come. Our recent project on Sunstream Parkway in Virginia Beach is a great example of exactly why that thoroughness matters, catching and properly addressing hidden moisture damage before it became a much bigger problem down the road.
Homeowners who go through this process with a contractor who takes every stage seriously tend to come away with more than just a nicer-looking house. They come away with a genuine understanding of what’s protecting their home underneath the surface, and the confidence that comes from knowing nothing was rushed or skipped along the way. That’s the real difference between a siding project that simply looks good on install day and one that’s actually built to perform for decades.
FAQS
1: How long does the entire siding installation process take, from consultation to completion?
A: Including consultation, measurements, material ordering, and any necessary permitting, most projects take anywhere from two to six weeks before installation even begins, largely due to material lead times. The physical installation itself, once the crew is on-site, typically takes anywhere from two to five days depending on the size and complexity of the home.
2: What happens if the crew finds damage under my old siding? This is a normal and fairly common discovery, and a professional crew will pause, document what they found with photos, and discuss the necessary repair and any associated cost with you directly before proceeding. Addressing hidden sheathing damage before installing new siding is essential, since covering it up would only allow the problem to worsen out of sight.
3: Do I need a permit for a siding replacement in Virginia?
A: In most cases, yes, particularly for a full siding replacement rather than a minor patch repair. Permit requirements vary by city and county, so a reputable contractor will confirm what’s needed for your specific location and handle the application process on your behalf as part of the project.
4: Can I stay in my home during the siding installation process?
A: Yes, the vast majority of homeowners remain in their homes throughout the entire process without any issue. You can expect noise and crew activity around the exterior of your house during working hours, but the interior of your home remains fully livable and unaffected by the work itself.
5: How do I know if my current siding needs full replacement versus a repair?
A: A professional inspection is the most reliable way to know for certain, but general indicators pointing toward full replacement include widespread cracking or warping, siding older than twenty years, or evidence of moisture damage in multiple areas. A contractor should be able to explain their reasoning clearly, showing you specific findings rather than simply recommending the more expensive option by default.