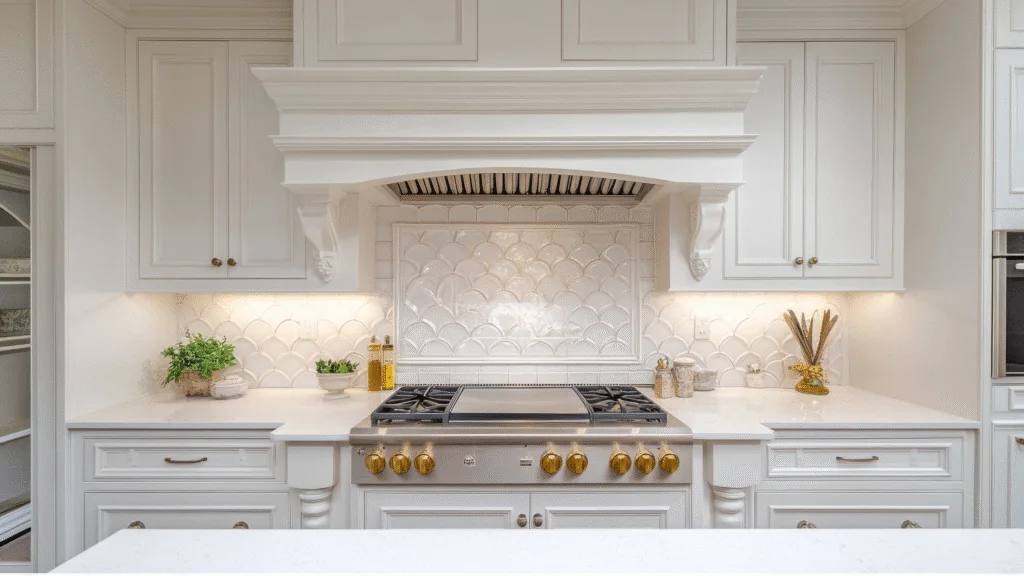
If you’re starting a new tile project, getting a flawless finish often comes down to one tiny detail: the edges. While traditional bullnose tiles or simple caulking used to be the standard, modern design demands the crisp, clean lines of metal tile profiles.
Learning how to install Schluter trim might seem intimidating if you are tackling tile work for the first time, but it is entirely manageable. We know that the difference between an amateur DIY job and a professional finish is simply a matter of patience, precise cuts, and proper mortar technique. If you are looking for broader advice on finishing your home’s edges, you can also explore our general tips for installing trim.
Here is the exact step-by-step process the pros use to get a seamless tile edge every single time.
The Pro Tool Kit
Before you mix any thinset, make sure you have the right materials. Having the proper blade to cut the metal is the most critical part of this list.
- Schluter trim (Ensure the height matches your tile thickness plus the thinset layer beneath it)
- Thinset mortar (Check your wall substrate to see if you need modified or unmodified)
- Notched trowel and a smaller margin trowel
- Miter saw with a non-ferrous metal cutting blade (or a manual hacksaw with a fine-tooth blade)
- Aviation snips (tin snips)
- Metal file
- Painter’s tape
- Standard tile spacers
Resource Tip: If you aren’t sure which profile shape fits your design, browse the official Schluter Systems profile guide to see the differences between Jolly, Rondec, and Quadec styles.
The Step-by-Step Installation Process
Step 1: Measure, Cut, and Prep Your Corners

First things first. Measure your area carefully.
When you cut the metal trim, take your time. If you rush it, the metal will warp.
And always use your metal file to smooth away sharp burrs on the freshly cut edges.
Now for the Pro Tip:
Corners are the hardest part of this job. You can cut a perfect 45-degree miter joint, or you can buy Schluter’s pre-made 90-degree corner accessories.
If you choose to miter, you’ll notice something annoying: the perforated “anchoring legs” of the two pieces overlap. This creates a bulky, uneven spot right behind your tile.
The fix?
Grab your aviation snips. Cut away a section of the anchoring leg on one of the pieces.
Boom. Now the two profiles meet flush at the corner without overlapping the metal base.
Step 2: The Dry-Fit

Never, ever install trim blindly into wet mortar.
Instead, dry-fit your cut pieces against the wall to ensure your miters align perfectly.
Trimming a shower niche?
Tape the pieces in place temporarily with painter’s tape. This guarantees your frame is totally square before the messy stuff starts.
Step 3: Embed the Anchoring Leg

Grab your notched trowel.
Apply thinset mortar along the edge where the trim will sit. Make sure to trowel the mortar in straight, parallel lines.
Next, press the perforated anchoring leg of the Schluter trim firmly into the wet mortar.
The mortar should squeeze directly through the trapezoid-shaped holes in the metal leg. This is exactly what locks the trim into the wall permanently once it cures.
Use a level to make sure the visible edge is dead straight.
Step 4: Back-Butter Your Tile

Once the trim is embedded, you need to set your tile over that anchoring leg.
Here is the catch:
That metal leg adds a tiny bit of bulk to the wall. If you just slap the tile up there, it’s going to sit crooked (pros call this “lipping”).
To fix this, back-butter the back of your edge tiles with a thin, flat layer of thinset.
This gives you 100% mortar coverage and keeps the tile perfectly flush.
Step 5: Tape and Gap

Press the tile firmly into place alongside the trim.
But wait.
Do not push the tile completely tight against the metal.
You want to leave a small gap (about 1/16” to 1/8”) between the tile edge and the Schluter trim. Use your tile spacers to keep this gap uniform.
Finally, place a few strips of painter’s tape stretching from the tile, over the metal trim, and onto the wall.
This holds the trim tight against the tile while the thinset cures overnight so it doesn’t sag out of alignment.
Join Our Community
Join our community on Facebook and don’t forget to subscribe to us on YouTube for new content each week.
Frequently Asked Questions
How do you secure Schluter trim?
You secure Schluter trim using the exact same thinset mortar used to install your tile; no nails or screws are required. The trim features a flat, perforated anchoring leg. You embed this leg directly into the wet thinset, and as the mortar cures through the perforated holes, it permanently locks the metal trim into place behind the tile.
Do you leave a gap between Schluter trim and tile?
Yes, you should always leave a small gap typically 1/16″ to 1/8″ (about the width of a standard grout line) between the Schluter trim and the edge of the tile. This gap is necessary so you can pack it with grout or color-matched silicone later, which prevents moisture intrusion and allows for slight structural expansion.
How do you attach Schluter to the wall?
To attach Schluter trim to the wall, first spread an even layer of thinset mortar along the installation edge using a notched trowel. Next, firmly press the perforated anchoring leg of the trim into the wet mortar until the thinset squeezes through the holes. Finally, trowel a thin layer of mortar over the top of the metal leg before setting your tile directly over it.
Should Schluter trim be flush with the wall?
The flat anchoring leg of the trim must sit flush against your wall substrate (such as your drywall or cement board). However, the top visible edge of the metal profile should not be flush with the wall; it must sit perfectly flush with the top surface of your finished tile. To achieve this, select a trim size that exactly matches the thickness of your tile plus the layer of thinset beneath it.
Need Professional Help with Your Home’s Exterior or Interior?
Whether you are finishing an interior tile project or looking to upgrade your home’s curb appeal with professional siding services, getting the details right matters.
If your DIY project has turned into a bigger job than expected, or if you need expert exterior remodeling in the Virginia Beach area, our team is ready to step in.
Ready to elevate your home? Contact Reitzel Roofing & Exteriors today to schedule a free consultation. For more expert tips, check out our Learning Center!